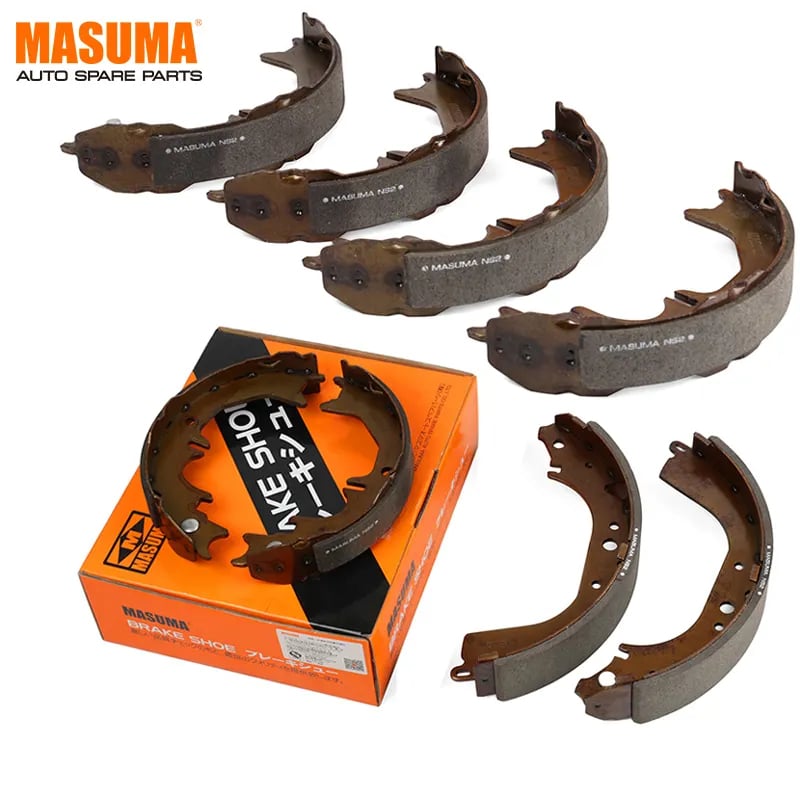
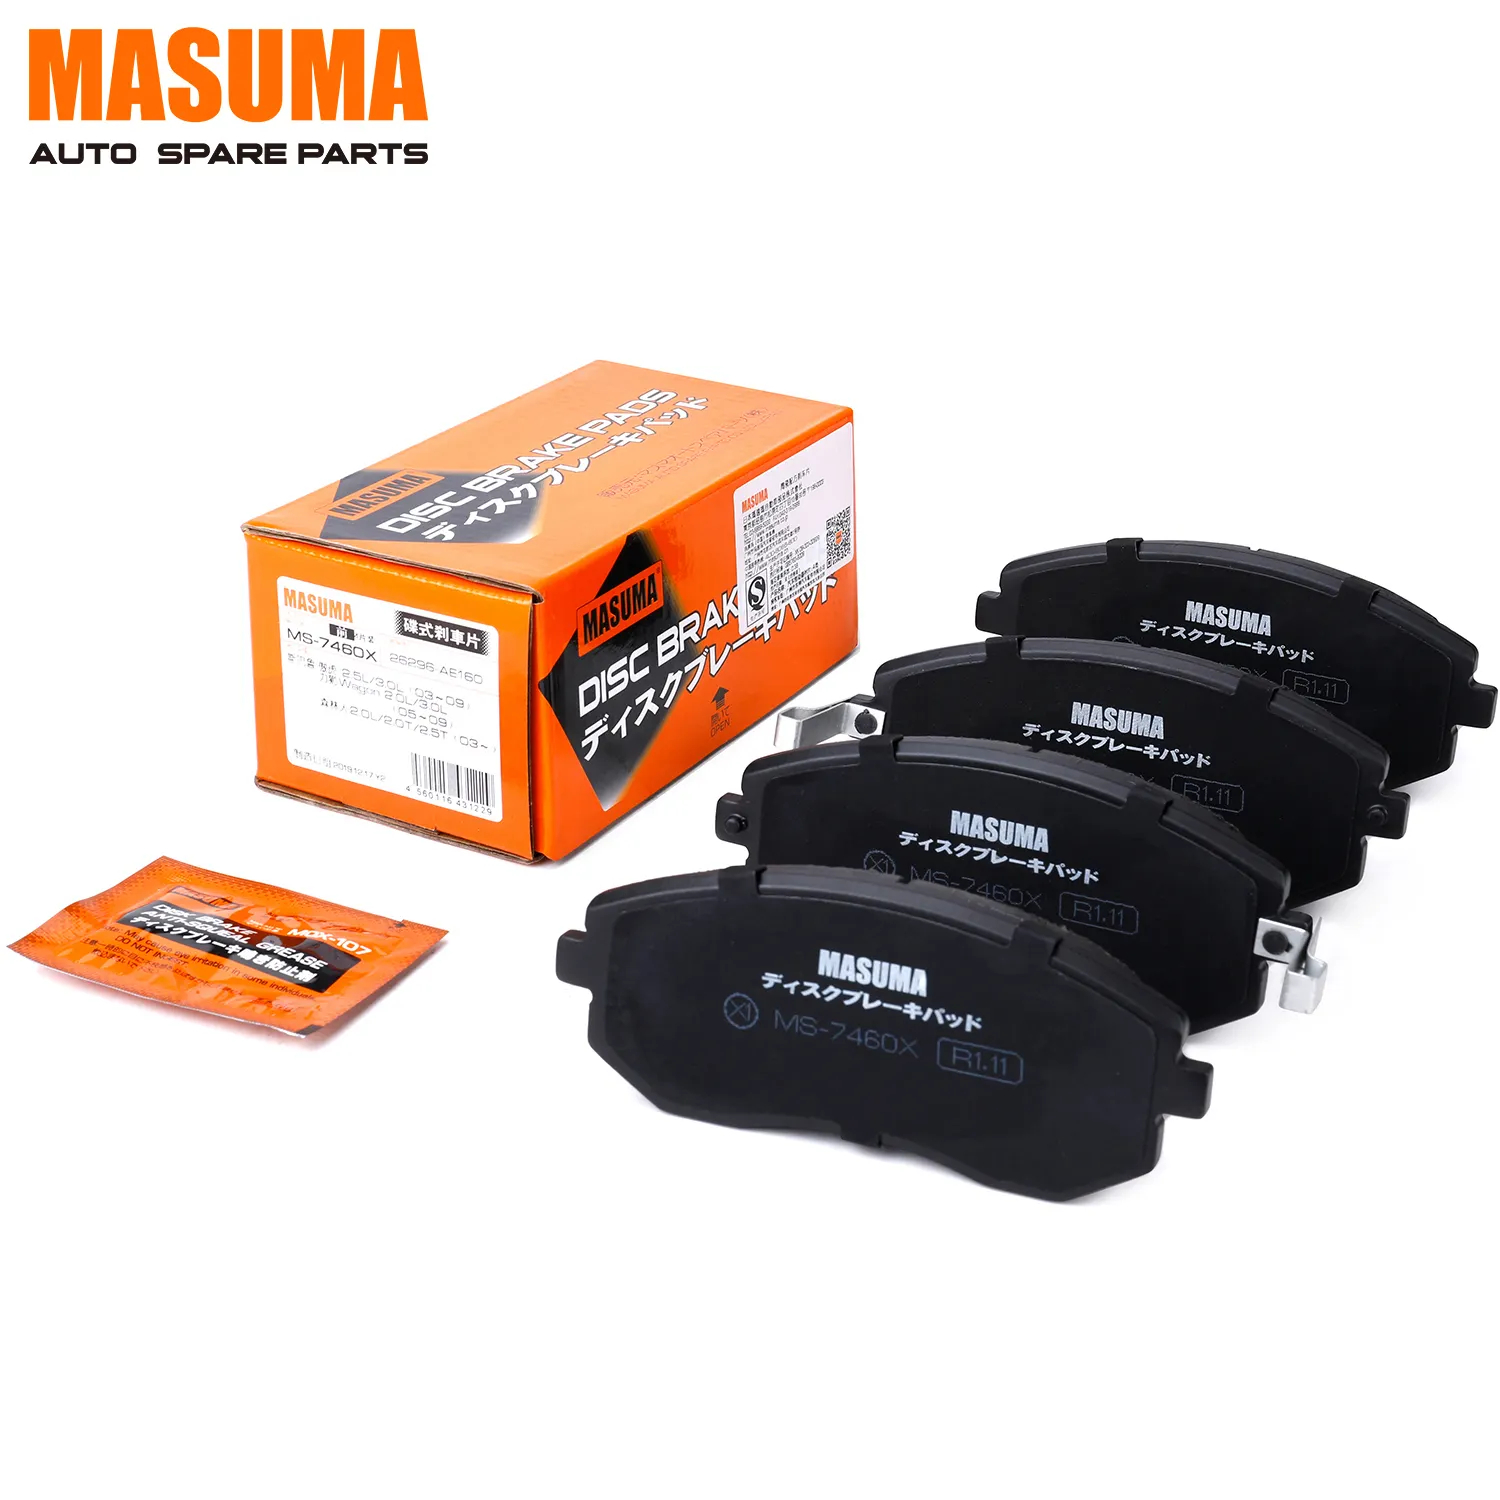
Automotive belts are also known as automotive transmission belts. The main function is the transmission of power. The transmission belt on a vehicle is in charge of driving the movement of all the machine parts so that if any damage is done to the belt the vehicle will not work properly. Three types of belts are commonly available on cars: Triangle belts (automotive V-belts or also known as cut-edge belts), multi-vibe belts (PK belts) and timing belts. The function of the automotive belt is to work as a connecting link between the preceding and the following, where the upper part is connected to the timing pulley of the engine head and the lower part is connected to the timing pulley of the crankshaft.


Multi-vibe series

Adopting special short fiber compound formula, taking German special Miller cord as skeleton, employing German imported EPDM, aramid fiber and other high performance materials refined by dynamic bonding technology and vulcanization process, so that the wedge angle of the belt body and the pulley can be precisely matched to transmit power tranquilly and smoothly. Adopting ultra-thin belt body structure, the belt has favorable bending performance and less belt cracking. Strict quality control and performance testing will ensure the excellent cold resistance, chemical stability, super tensile performance, high load bearing, anti-tear, anti-aging, ozone resistance and oil resistance, and extended service life.
V-belts Series

The triangle belt series adopt the special fiber material refined by the dynamic too bonding technology and vulcanization process, and the special German Miller wire cord as the skeleton to ensure that the belt body and the pulley to fit precisely. The special small round tooth belt body structure enables the belt to have better heat dissipation and bending performance, and the special top cloth structure strengthens the back of the belt so that it will not be distorted under prolonged stress. The quality control and performance testing from raw materials to production guarantee that the v-belt features high wear resistance, heat resistance, oil resistance, low noise, high transmission efficiency, small expansion and contraction, and durable service life.
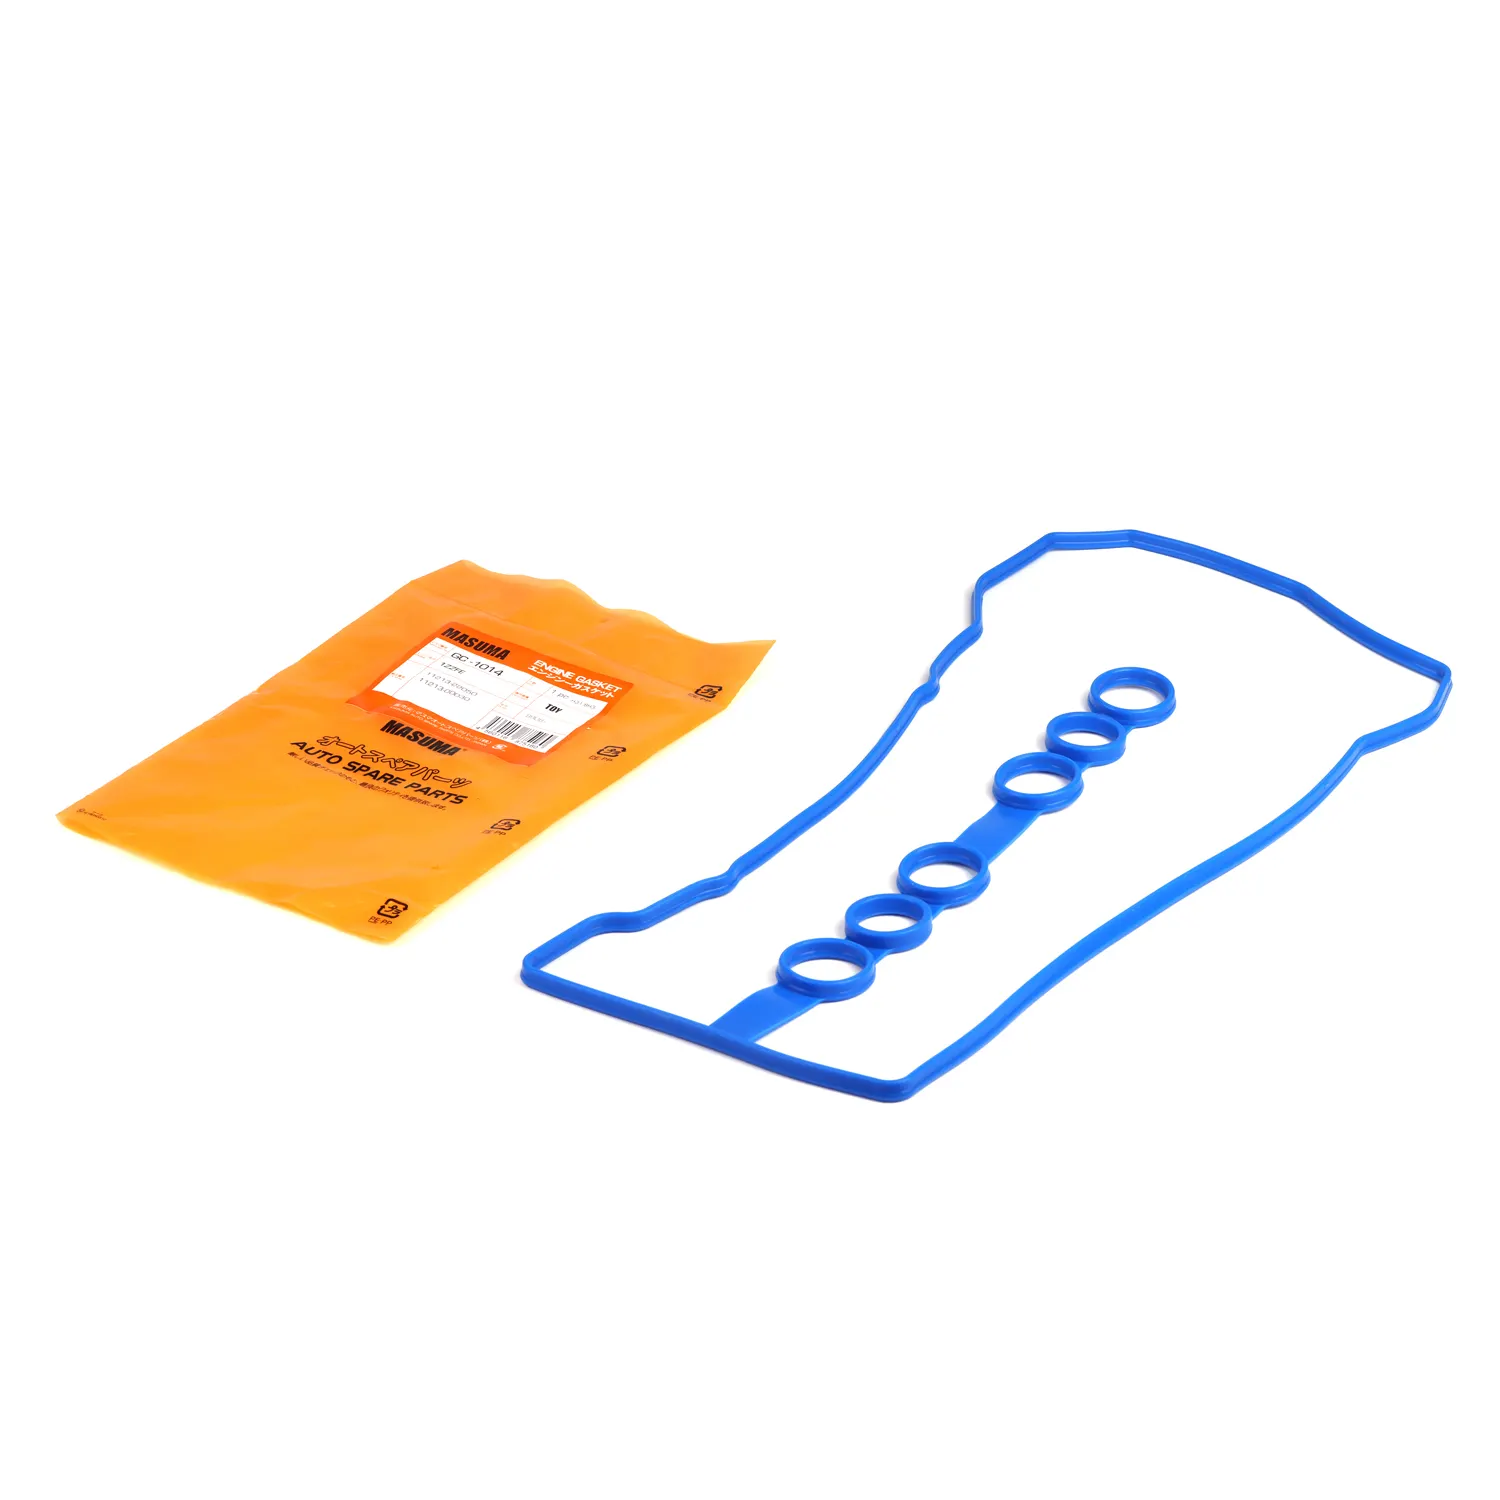
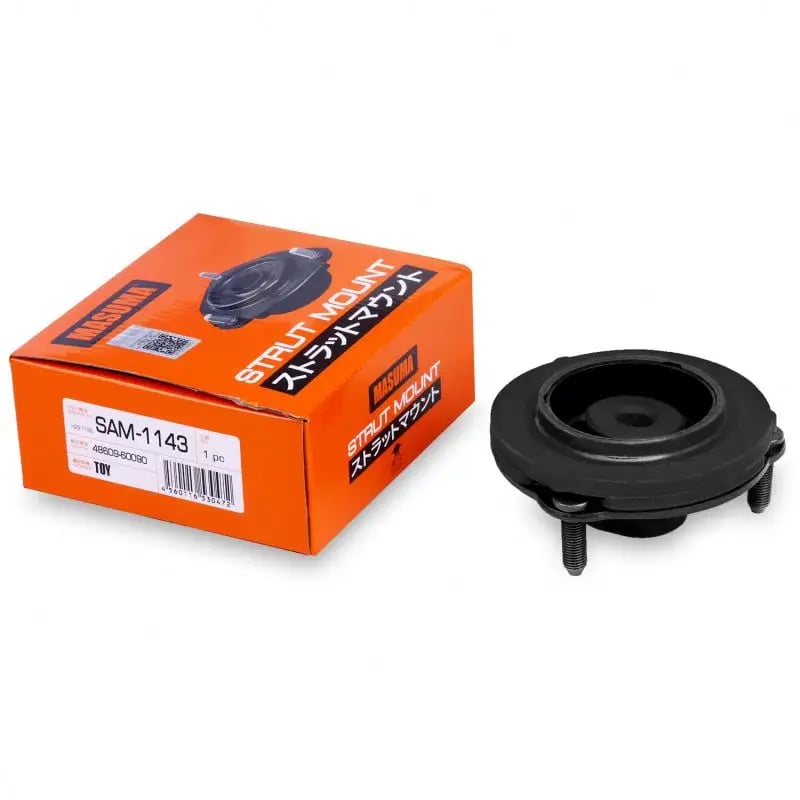
Timing belt series products

The timing belt body adopts Japanese high-quality synthetic HNBR hydrogenated nitrile rubber, and is optimized with different auxiliary materials. Hydrogenated nitrile rubber material is a reasonable choice for high-end automotive transmission belts, which can work in the state of -40 degrees Celsius ~ +150 degrees Celsius, with good durability. The skeleton features Japanese high quality and high-intensity glass fiber cord, with special treatment of high wear-resistant nylon 66 high elastic surface on the surface to enhance protection. The life span under regular use is up to 2 years or 80,000-100,000km.


The replacement cycle of automotive multi-v belt and v-belt
The car belt should be replaced once every 4 years or 60,000 km. The replacement cycle is not a specific value, but needs to be decided by the owner on the basis of daily driving habits and driving environment. If the driving environment is harsh, the belt may need to be replaced once in less than 60,000 kilometers. During the process of daily use of the car, the car owner is required to inspect the use of the car belt in a timely manner to prevent the belt from breaking.
Timing belt replacement cycle
The timing belt belongs to the rubber parts. As the working time of the engine increases, the timing belt and the accessories of the timing belt, for example, the timing belt tensioner pulley, the timing belt tensioner and the water pump, become worn or aged. If the timing belt breaks, it will cause the engine to stop running and may damage other parts, such as bent valves and stamped pistons. If the timing sprocket slips or is damaged, it will “burn” the belt material and increase the wear of the belt teeth, and may cause more resistance to the timing belt from the valve train. Regarding these damage cases, the timing belt should be replaced in a timely manner. Prior to replacing the timing belt, the timing mark should be adjusted and then disassembled. In replacing the timing belt, the water pump and timing belt tensioner pulley will be replaced at the same time.
WARNING: Excessive flexing of the timing belt shall not be permitted in the period of storage, transportation and installation!
1. Check whether the belt is loose and if there is oil or dust precipitation on the belt.
2. Check whether the belt hardness is lowered, or there is any abrasion, cracks or fissures.
3. Check whether the camshaft sprocket, crankshaft sprocket, belt tensioning pulley and idler pulley are abnormally worn, cracked or damaged.
4. Check whether the tensioning pulley and idler pulley rotate freely and smoothly as well as the clearance or noise.
5. Replace the pulley if the bearing grease is leaking.
Timing system disassembly and inspection
1. Disassembly
(1) Disassemble the engine center cover.
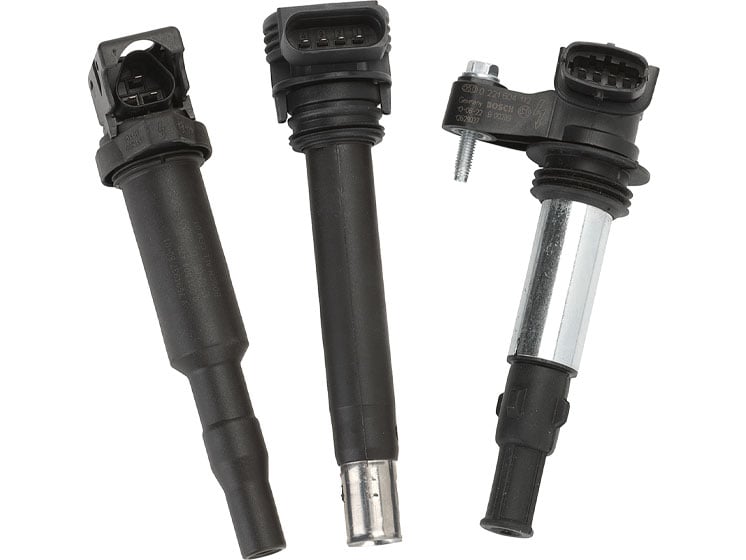
(2) Disassemble the ignition coil and spark plug.
(3) Disassemble the right front wheel and the right side cover.
(4) Unscrew the water pump pulley bolt.

(5) Disassemble the alternator transmission belt. (A)

(6) Disassemble the air conditioning compressor transmission belt.
(7) Unscrew the fixing bolts and disassemble the power steering pump transmission belt.
(8) Unscrew the four bolts and disassemble the water pump pulley.
(9) Unscrew the four bolts and disassemble the timing belt upper cover.
(10) Rotate the crankshaft pulley and align its guide groove with the timing mark “T” of the timing belt cover. Confirm that the timing mark (A) of the camshaft sprocket is properly matched with the timing mark of the cylinder head cover. (No.1 cylinder compression TDC position).


(11) Disassemble the crankshaft pulley (A).
(12) Disassemble the crankshaft flange (A).
(13) Unscrew the 4 bolts (B) and timing belt lower cover (A).
(14) Disassemble timing belt tensioner (A) and timing belt.


(15) Unscrew the bolt (B) and disassemble the timing belt idler pulley (A).

(16) Disassemble the crankshaft sprocket (A).

(17) Disassemble the cylinder head cover.
(18) Disassemble the camshaft sprocket. Secure the camshaft part (A) with a hexagonal wrench, and disassemble the bolt (C) with a wrench (B), as well as removing the camshaft sprocket.

2. Installation
(1) When loosening the fixing bolts (A, B), shift the tensioner pulley (C) in accordance with the direction of the arrow. Tighten the fixing bolts (A, B) temporarily.

(2) Install the cylinder head cover.
(3) Install the crankshaft sprocket (A).
(4) Adjust the timing marks of the camshaft sprocket and crankshaft sprocket as the piston is located at the upper stop and its compression stroke.

(5) Install the idler pulley (A) and fasten the bolt (B) to the stipulated torque.
(6) Install the timing belt tensioner (A) temporarily.

(7) Fix the hexagonal part (A) of the camshaft with a wrench (B) and tighten the camshaft sprocket (C) bolt. Crankshaft sprocket (A) →Idler pulley (B) →Camshaft sprocket (C) →Timing belt tensioner (D)
(8) Adjust the timing belt tension.
① After loosening the assembly bolts, the timing belt tension is adjusted with the elasticity of the tensioner.
② When checking whether each sprocket and each timing belt pulley tooth are aligned with each other, the assembly bolt is tightened.
③ Then recheck the belt tension. Make sure that the distance between the end of the teeth of the belt and the centre of the bolt head is approximately 1/2 of the radius of the head of the tensioner’s belt fixing bolt (in the plane) when the tensioned part of the belt is pressed horizontally with a sufficient force [approx. 49 N (11 lb)].
④ Timing belt tension measurement procedure (by sonic tension gauge)
Rotate the crankshaft in the clockwise direction, place the first piston at the upper stop, turn the crankshaft in a counterclockwise direction to an angle of 90, and then measure the belt tension in the center of the tensioned part of the span (direction of the arrow in the above figure) utilizing the free vibration method.
(9) Turn the crankshaft 2 turns in the normal direction (clockwise) and rearrange the crankshaft sprocket and camshaft sprocket timing marks.
(10) Install the timing belt lower cover (A).
(11) Install the flange and crankshaft pulley (A), then fasten the crankshaft pulley bolt. Confirm that the crankshaft sprocket pin fits into the tiny hollow of the pulley.
(12) Install the timing belt upper cover (A).
(13) Install the water pump pulley and 4 bolts.
(14) Install the power steering pump transmission belt
(15) Install the air conditioning compressor transmission belt
(16) Install the alternator transmission belt
(17) Install the right side cover
(18) Install the front wheel RH.
(19) Use bolts to install the engine center cover.